Camera, Lighting, And Animation
Camera and lighting control are ordinary method calls on ViewerHandle, which
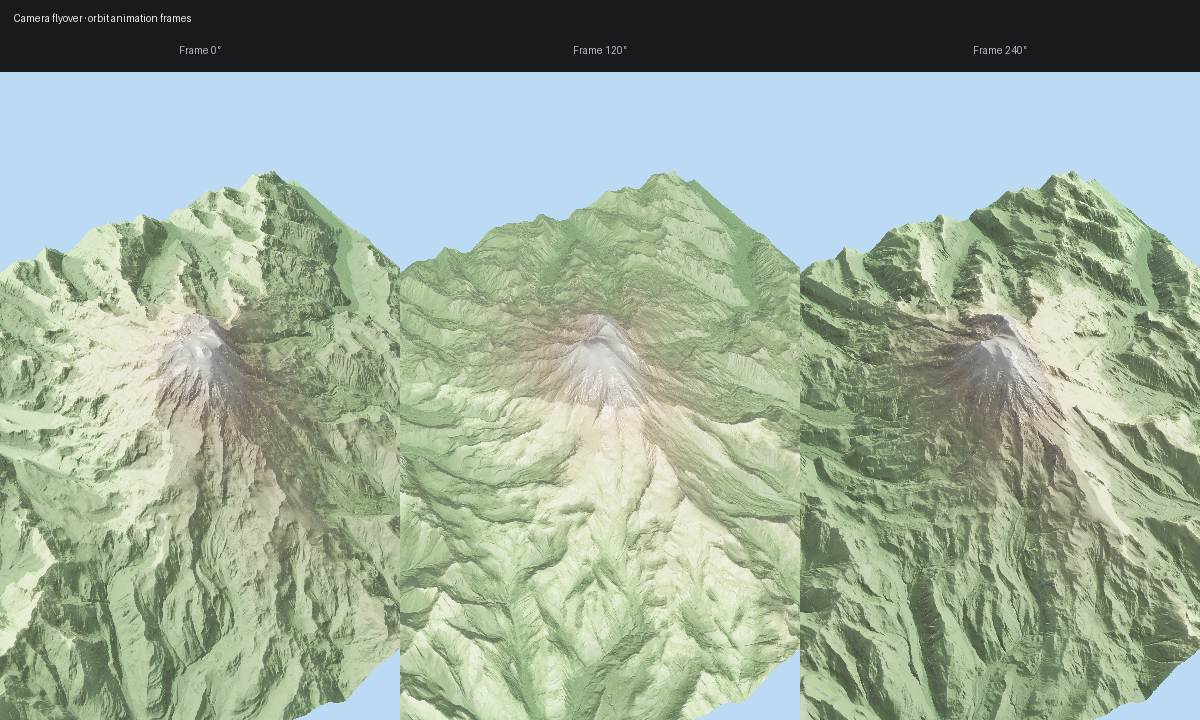
makes automation straightforward. The gallery image below comes from the same
automated flyover workflow used by scripts/regenerate_gallery.py.
Manual camera and sun updates
import forge3d as f3d

with f3d.open_viewer_async(terrain_path=f3d.mini_dem_path()) as viewer:
    viewer.set_orbit_camera(phi_deg=20, theta_deg=60, radius=1.5, fov_deg=40)
    viewer.set_sun(azimuth_deg=250, elevation_deg=38)
    viewer.snapshot("frame-000.png")
Simple scripted flyover
from pathlib import Path

import forge3d as f3d

frames = Path("frames")
frames.mkdir(exist_ok=True)

with f3d.open_viewer_async(terrain_path=f3d.mini_dem_path()) as viewer:
    for step, phi in enumerate(range(0, 360, 30)):
        viewer.set_orbit_camera(phi_deg=phi, theta_deg=52, radius=1.8, fov_deg=45)
        viewer.set_sun(azimuth_deg=315 - phi * 0.25, elevation_deg=30)
        viewer.snapshot(frames / f"frame-{step:03d}.png", width=1280, height=720)
Notebook widget version
widget = f3d.ViewerWidget(
    terrain_path=f3d.mini_dem_path(),
    src=f3d.mini_dem_path(),
    width=960,
    height=600,
)
widget.set_camera(phi_deg=48, theta_deg=50, radius=1.6)
widget.set_sun(azimuth_deg=290, elevation_deg=34)
widget
Gallery-backed script
For the published flyover panel, scripts/regenerate_gallery.py calls
examples/terrain_viewer_interactive.py three times with different orbit
angles, then composites the frames into one image:
python examples/terrain_viewer_interactive.py ^
  --dem assets/tif/dem_rainier.tif ^
  --width 400 --height 648 ^
  --pbr --msaa 8 ^
  --shadow-technique pcss --shadow-map-res 4096 ^
  --exposure 1.25 ^
  --sun-azimuth 305 --sun-elevation 28 ^
  --height-ao --height-ao-strength 1.2 ^
  --sun-vis --sun-vis-mode soft ^
  --normal-strength 1.1 ^
  --snow --snow-altitude 3200 --snow-blend 300 ^
  --rock --rock-slope 42 ^
  --tonemap aces ^
  --white-balance --temperature 6000 ^
  --sky --sky-turbidity 2.5 ^
  --snapshot frame-000.png
Next: Point Clouds
Expected output