Your First 3D Terrain
Start with ViewerWidget, which keeps notebook work on the same viewer + IPC
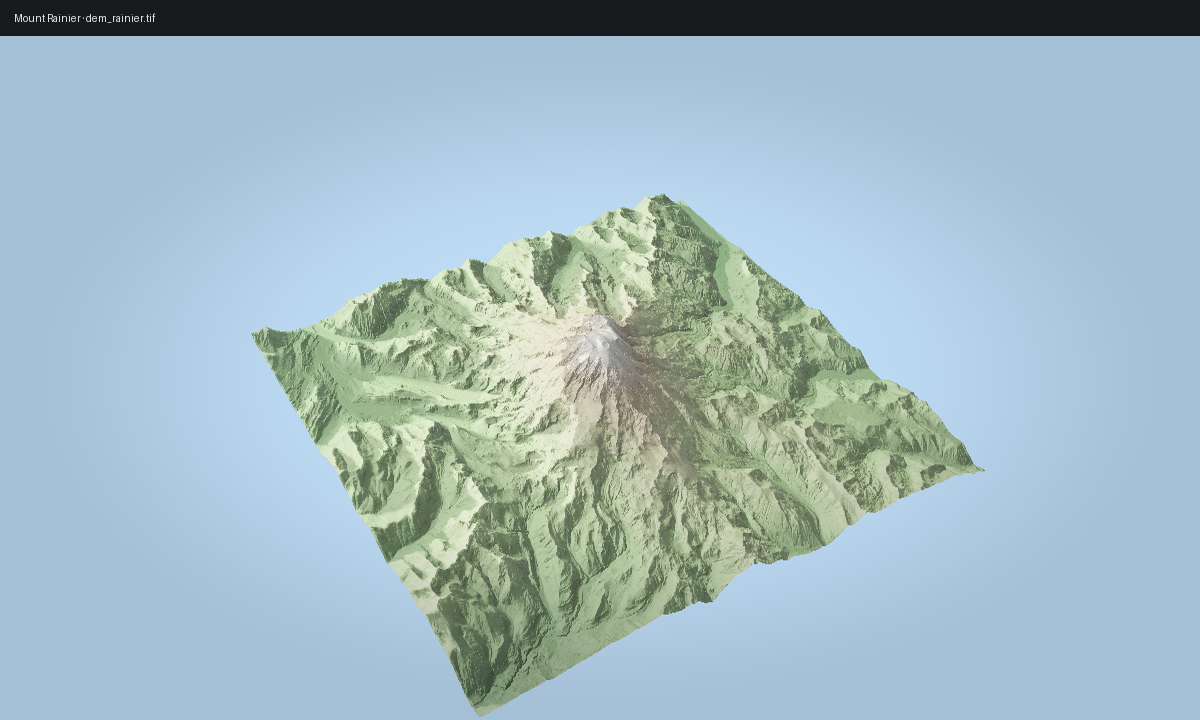
path used by scripts. The image below reuses the gallery Rainier render so this
page stays aligned with the output generated by scripts/regenerate_gallery.py.
Launch the viewer from a bundled DEM
import forge3d as f3d

dem = f3d.mini_dem()
print(f3d.dem_stats(dem))

widget = f3d.ViewerWidget(
    terrain_path=f3d.mini_dem_path(),
    src=dem,
    width=900,
    height=560,
)
widget.set_camera(phi_deg=30, theta_deg=58, radius=1.7, fov_deg=42)
widget.set_sun(azimuth_deg=315, elevation_deg=30)
widget
Update it from Python
widget.set_camera(phi_deg=65, theta_deg=46, radius=1.5)
widget.set_sun(azimuth_deg=280, elevation_deg=28)
widget.snapshot("first-terrain.png", width=1400, height=900)
ViewerWidget is the public notebook surface. If the viewer binary cannot
launch, the widget falls back to an internal inline preview instead of exposing
a second public renderer API.
Gallery-backed script
The gallery version of this terrain scene is rendered by
examples/terrain_viewer_interactive.py from render_01_rainier() in
scripts/regenerate_gallery.py. Use that path when you want the exact polished
image shown below.
Expected output