Visualize Your First DEM
Start with the same Mount Rainier scene that powers the gallery. Keep the control loop small in Python, then use the gallery-backed example script when you want the polished render shown at the end of the page.
Minimal API loop
import forge3d as f3d

dem_path = f3d.fetch_dem("rainier")

with f3d.open_viewer_async(
    terrain_path=dem_path,
    width=1440,
    height=900,
) as viewer:
    viewer.set_z_scale(0.1)
    viewer.set_orbit_camera(phi_deg=28, theta_deg=49, radius=5400, fov_deg=42)
    viewer.set_sun(azimuth_deg=302, elevation_deg=24)
    viewer.snapshot("rainier-first-look.png", width=1440, height=900)
Gallery-backed script
scripts/regenerate_gallery.py renders the published gallery image for this
scene by calling examples/terrain_viewer_interactive.py with a fuller PBR
setup:
python examples/terrain_viewer_interactive.py ^
  --dem assets/tif/dem_rainier.tif ^
  --width 1200 --height 720 ^
  --cam-radius 5200 ^
  --pbr --msaa 8 ^
  --shadow-technique pcss --shadow-map-res 4096 ^
  --exposure 1.35 ^
  --sun-azimuth 305 --sun-elevation 24 ^
  --height-ao --height-ao-strength 1.2 ^
  --sun-vis --sun-vis-mode soft ^
  --normal-strength 1.1 ^
  --snow --snow-altitude 3200 --snow-blend 300 --snow-slope 50 ^
  --rock --rock-slope 42 ^
  --tonemap aces ^
  --white-balance --temperature 6000 ^
  --lens-vignette 0.25 ^
  --sky --sky-turbidity 2.5 ^
  --snapshot rainier-first-look.png
What matters
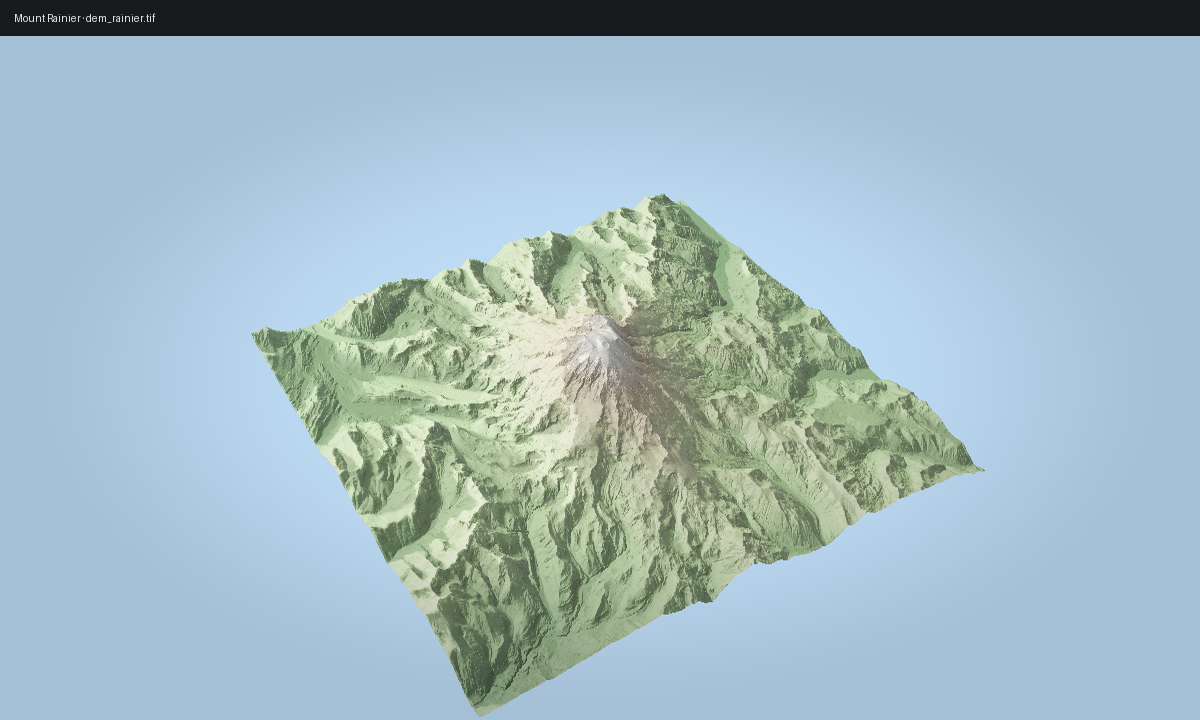
fetch_dem()keeps the tutorial stable across source checkouts and installs.ViewerHandle.set_z_scale()matters for real DEMs; the default terrain viewer exaggeration is too aggressive for Rainier.The published image below is the gallery asset from Mount Rainier, generated by
scripts/regenerate_gallery.py.
Expected output